
Spring Cleaning Guide

Last month we covered all the important steps to prepare your home for the annual deep clean. Now that you have prepped, organized and decluttered, it’s time to kick off your cleaning journey with our spring cleaning guide! We understand how overwhelming spring cleaning can be, often leaving you questioning where to start and how. Closets For Life is here to help to ensure no area of your home gets left behind! We have compiled a guide of what to clean in each room along with some overall cleaning tips. Check items off your list as you move from room to room and you will have a fresh, sparkling clean home by the end of it! Remember tackling spring cleaning is a big chore. So be realistic with the goals you set for yourself, giving yourself some grace (and time) to complete those checklists! Let’s get cleaning!
CHORES FOR EVERY ROOM
First, let’s begin with the tasks that need to be completed in every room. A good rule to follow as you go through the cleaning process in each room is to clean from top to bottom. Start by dusting the top of the ceiling fans and cabinets. Next, tackle the mid-level areas like countertops, sinks and tops of dressers and side tables. Lastly, vacuum and mop! By starting at the top and working your way down, you will save yourself from backtracking.
1. Dust
Even the most avid cleaner can’t prevent dust from building up, especially in those hard to reach places! Following the top to bottom rule, a good place to start is with the ceiling fan and window casings. Next, take everything off the shelves, end tables and bookcases and give them a good wipe down. Dust all the smaller items, including books, as you put them back on the shelf with a clean cloth or feather duster.
2. Vacuum
Dusting leads us into vacuuming. Be sure to go over all your floors with a vacuum to pick up all the crumbs and loose debris. By vacuuming after dusting you will collect all those dust particles that fell to the ground while you were dusting! Use the dust brush tool on your vacuum to reach in tight spots you couldn’t reach when dusting. Ceilings, walls and baseboards (an often overlooked area) can also be cleaned using the same vacuum attachment.
3. Wipe down surfaces
After vacuuming all the surfaces, it is a good idea to wipe everything down with a damp, microfiber cloth. Overtime our ceilings and walls build up with unwanted marks, so be sure to wipe down those areas too! Don’t forget those baseboards!
4. Mop
After your floors are vacuumed, it’s time to mop! Floors are one of the most exposed areas in our home so it is essential to mop them frequently to keep your home clean.
5. Shampoo carpets and rugs
It is common for dirt and bacteria to collect in carpeted areas. Over time, this bacteria will not only break down the carpet fibers but it can also make you sick. Therefore, deep cleaning those carpets is a must! Some rugs and carpeted areas can be cleaned with a rotary shampoo machine, while others may require a professional cleaning.
6. Clean window treatments and screens
Curtains, drapes and blinds; oh my! All window treatments need a good cleaning. Be sure to check labels before tossing them into the wash, since some can only be dry cleaned! Wash screens with a damp dusting mitt to collect all the dirt and debris that has accumulated throughout the year.
7. Clean air vents and ducts
Use a vacuum cleaner with a brush attachment to remove dust and debris from the vent openings and ducts and a damp cloth to wipe down the surfaces. If your air vents and ducts are particularly gross, you might want to consider hiring a professional.
8. Disinfect remote controls and electronics
Considering how often remote controls and electronics get touched with dirty, grimy hands (especially in homes with kiddos), it stands to reason how they need a thorough cleaning! First, remove the batteries from the remote controls. Use a microfiber cloth lightly dampened with rubbing alcohol or a mild disinfectant spray to wipe down the surfaces of the remotes and electronics, paying attention to buttons and crevices.
9. Prioritize safety
While you are performing your spring cleaning don’t forget to prioritize safety! Since you are already up on that ladder, why not replace batteries in your smoke and carbon monoxide detectors. Give them a little dusting and you are good to go!
10. Polish metal and door hardware
Refresh those door knobs and hinges with a quick polish! Liquid polishes work great for medium-tarnished surfaces, while pastes and creams are best for heavier work.
11. Wax surfaces and floors
After wiping wood surfaces with a damp cloth, apply wax a few feet at a time with a cotton rag folded into a square pad. Let the wax dry, then buff with a clean cloth. Additionally, vinyl and linoleum floors that have lost their shine should be waxed with a polish designed for these surfaces.
COMPLETE CHECKLISTS FOR EACH ROOM
Now that you know which chores are universal, add these room-by-room tasks to complete your spring cleaning checklist!
Kitchen
- Deep clean refrigerator – Remember to clean not only the inside and outside of the frig but under it as well. Don’t forget to clean the gasket and dust the coils too!
- Deep clean dishwasher – One of the most efficient ways to do this is to place a dishwasher-safe cup filled with vinegar on the top rack and run a hot cycle. Then, sprinkle baking soda on the bottom and run another short cycle. Wipe down the inside of the dishwasher with a damp cloth, paying attention to the door seal and edges. After the inside is clean, wipe down the outside of the dishwasher as well.
- Deep clean microwave – A quick and easy way to do this is with lemon, vinegar and water. Fill a small glass bowl with water, squeeze some lemon into it and place in microwave on turntable on high for two minutes. When cycle is done, remove the bowl and turntable from microwave. Be careful, as it will be hot! Lastly, take a cloth dampened with water and vinegar and wipe away any residue.
- Deep clean oven – Make a baking soda paste using a 3:1 ratio of baking soda to warm water. After removing the racks, use a paintbrush to apply the paste throughout the interior of the oven. Avoid bare metal surfaces and the oven door. You may need a toothbrush to reach in tight spaces. Leave paste on for 12-24 hours, then remove with a plastic scraper and a damp cloth. To clean the oven door and glass, use a mixture of equal parts water and white vinegar. Use a soft cloth and avoid wetting the gasket.
- Clean small appliances.
- Clean inside and outside of cabinets.
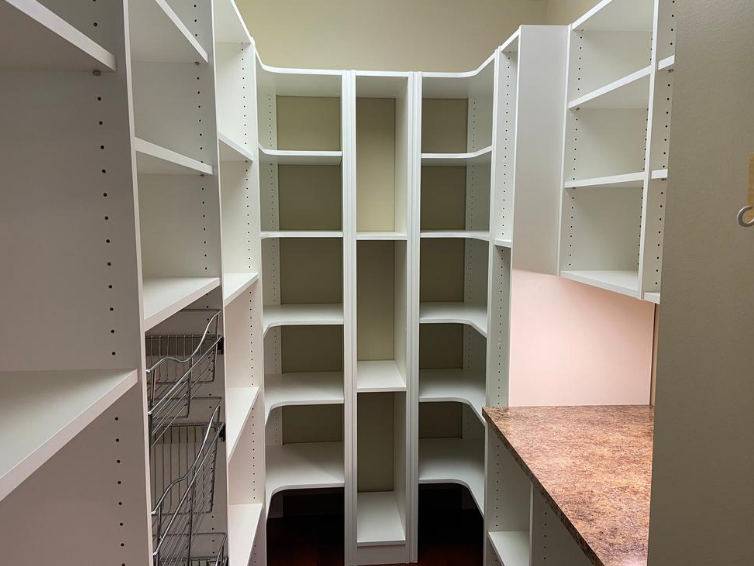
- Clean out pantry – Take inventory of your pantry. Toss out all expired items and make a mental note to use up items that are nearing expiration. Does your pantry need a little TLC? Perhaps adding some pull-out shelves or baskets would make things easier to find?

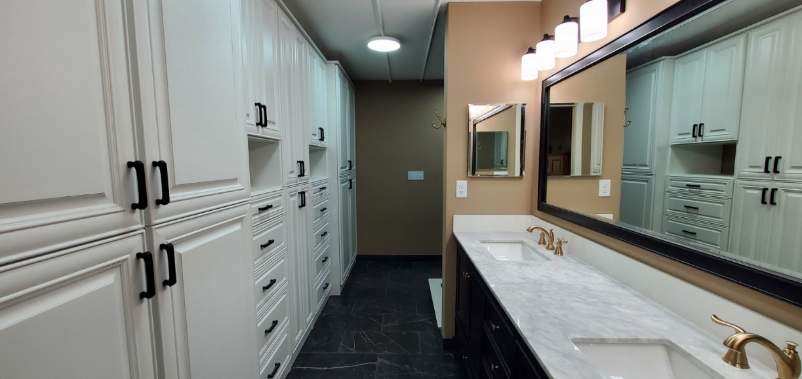
Bathrooms
- Start in the back corner of the bathroom. Make sure your tub, shower and toilet are spotless.
- Take inventory of your toiletries – Throw out all expired beauty products and toiletries.
- First aid kit – Don’t forget to check the supplies and dates in your first aid kit too! Replace what is missing and expired so your kit is ready the next time it’s needed.
- Work on surfaces. Dust the light fixtures. Wipe your shower rod, mirror, countertops, and cupboards.
- Toss your shower curtain, bath mats, and towels in the wash.
- Clean tile and grout.
- Clean the floor last so you can work your way out towards the door. Leaving the floor to dry as you move on to the next room!
Bedrooms
- Wash all bedding including pillows.
- Deep clean mattress.
- Clean under your bed.
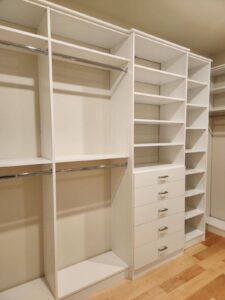
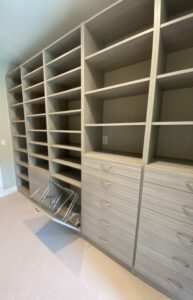
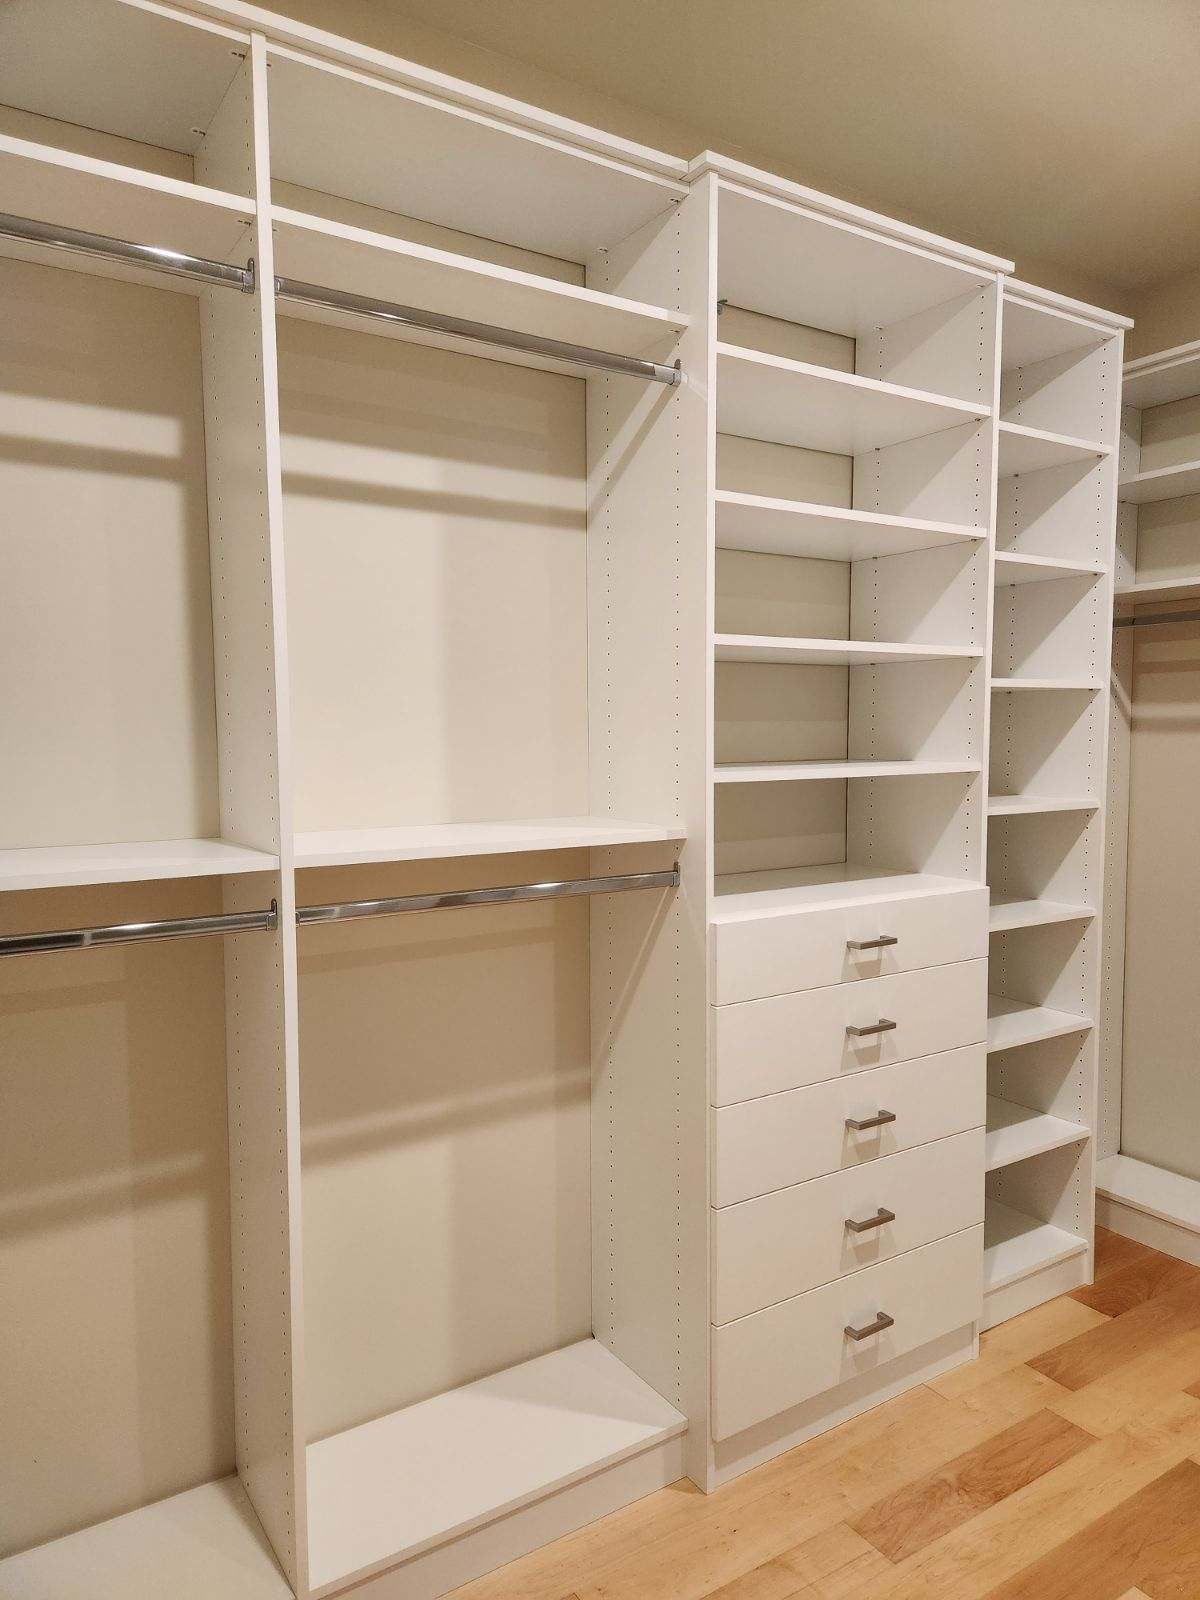
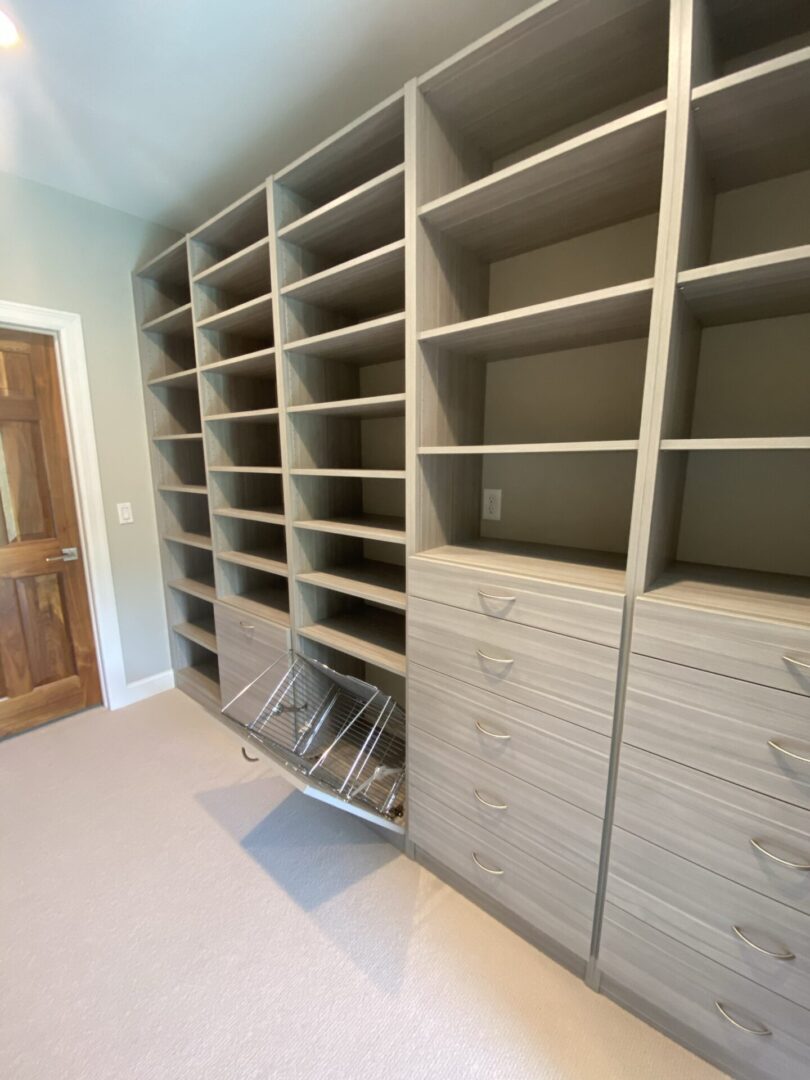
- Clean out and organize closets. Realizing you could use more hanging space or drawers? A custom walk-in closet could be just what you need!

Home office
- Wipe down your office equipment, including your desk, monitor, keyboard, phone, and lamp. Vacuum your office chair if fabric.
- Organize cords – Try wrapping or tying up cords for an instant refresh since exposed and tangled cords make spaces feel messy.
- Sort through your tech – Clear out those tech drawers and recycle or trade in old iPhones, chargers, headphones, and cords you are no longer using.
- Organize files – Sort through old papers and toss out non-important materials. If you feel you might need it again at a later date, consider digitalizing it!
- Don’t forget to do a digital cleanup. Delete old files, organize your folders, archive old emails, and backup any important data.
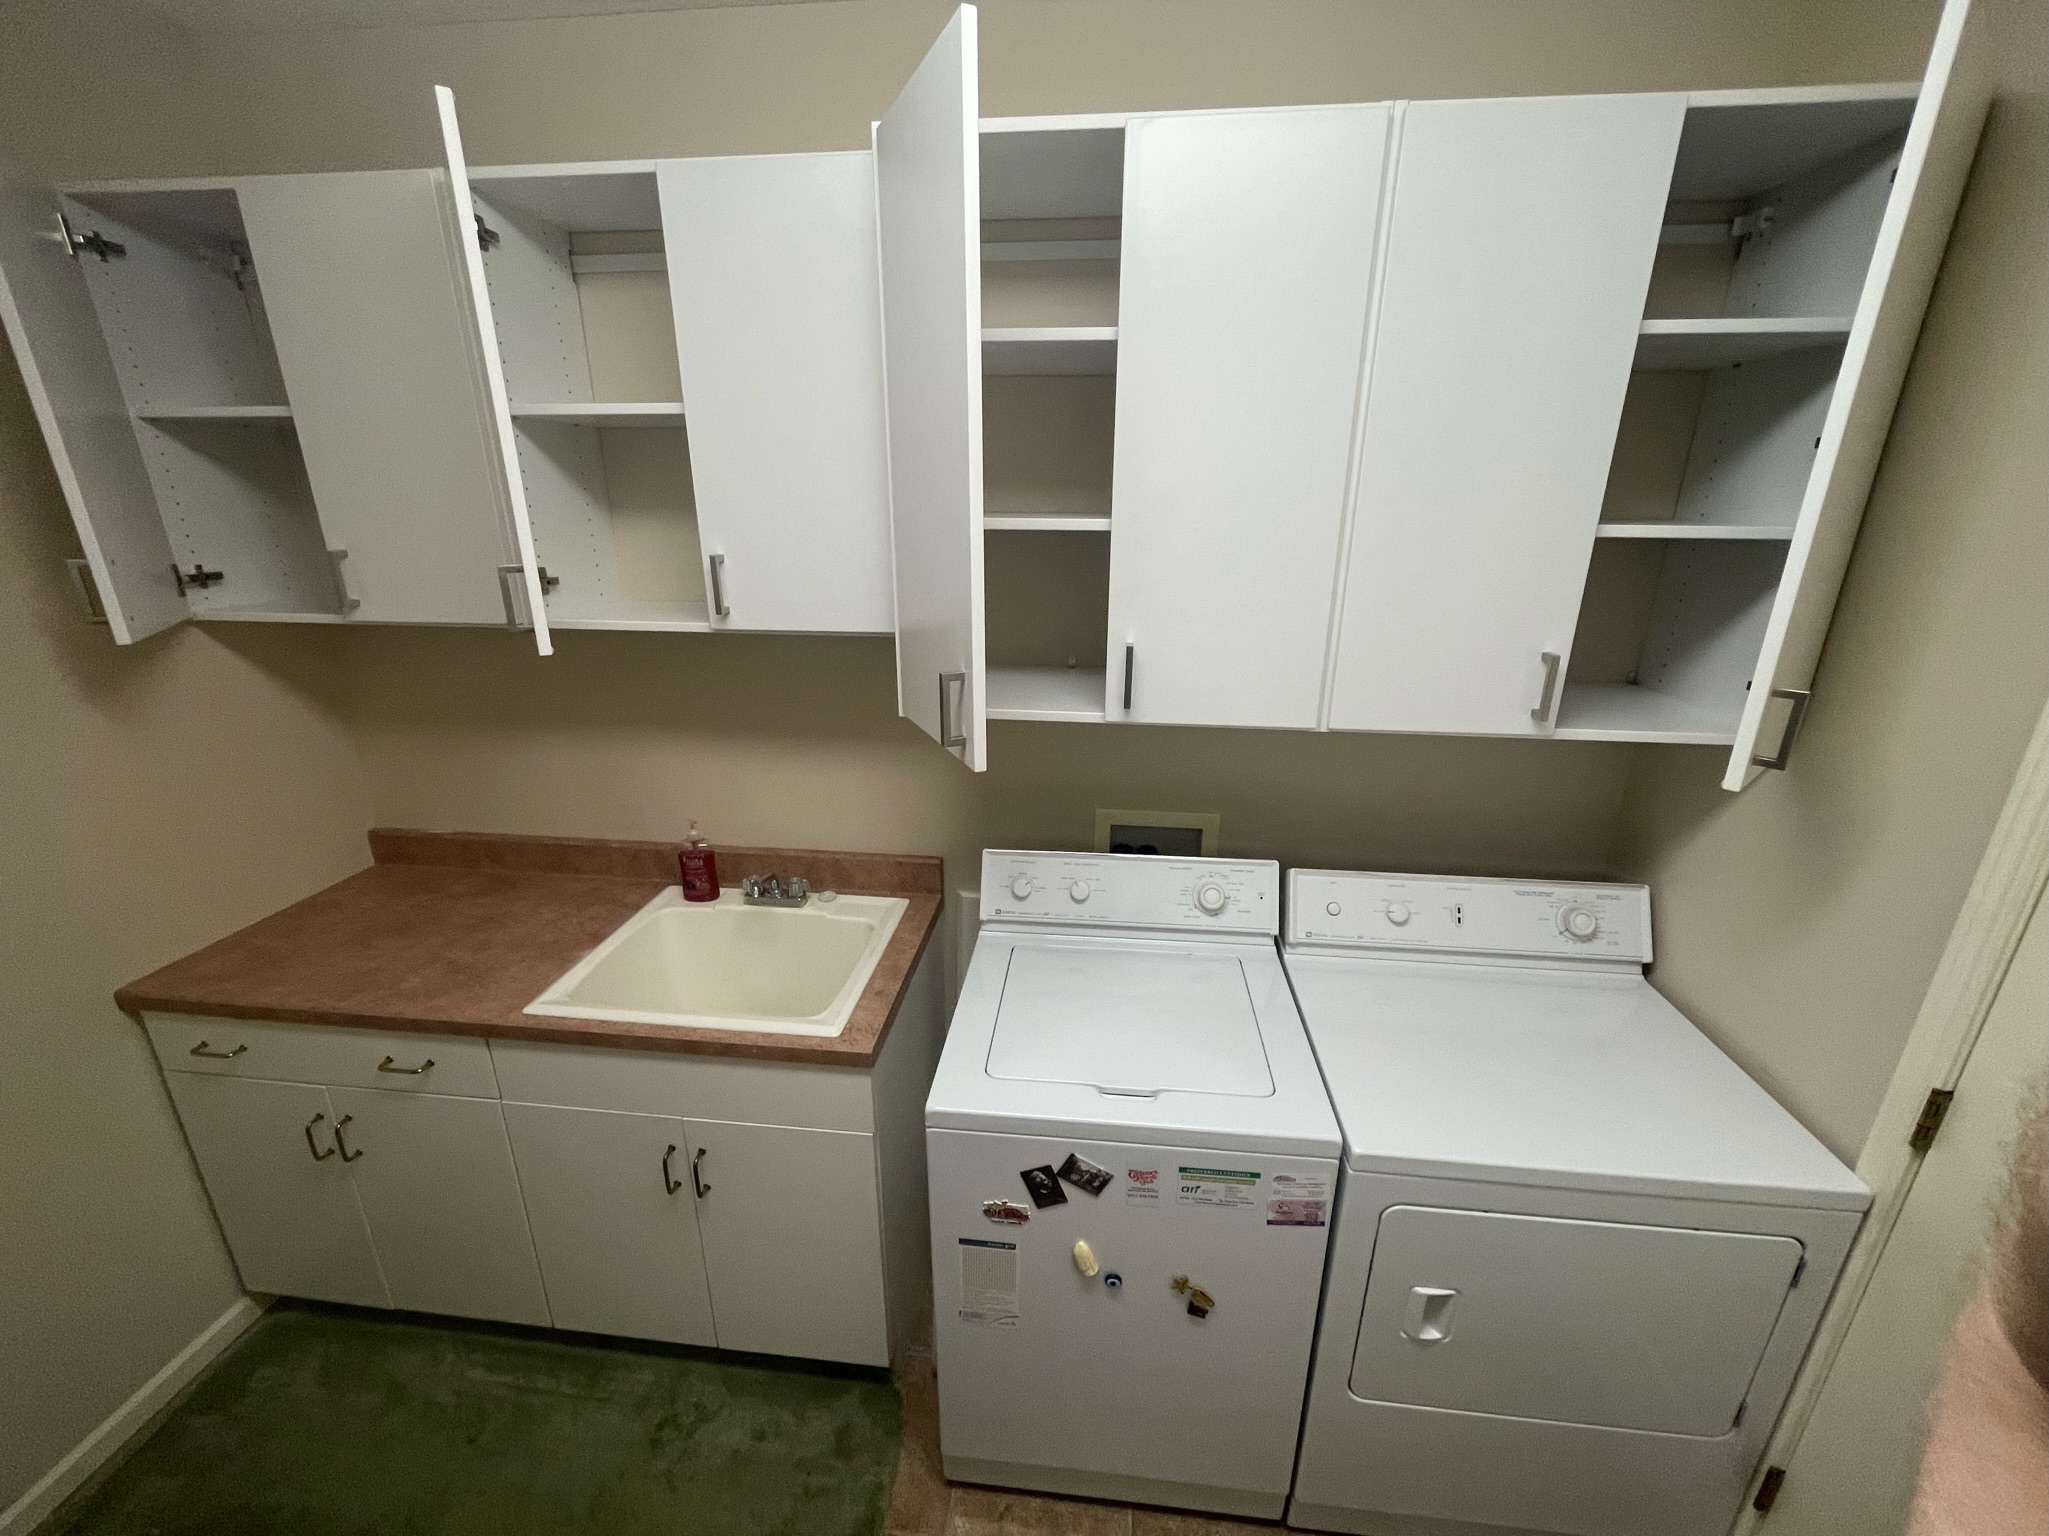
Laundry/Utility Rooms
- Deep clean washing machine.
- Clean dryer vent.
- Organize laundry supplies. Maximize your laundry center with cabinets, hanging rods and a folding surface!
YOUR CUSTOM HOME ORGANIZATION RESOURCE IN MINNESOTA & WISCONSIN
Now that you’ve cleaned your home from top to bottom, it’s time to stick to those cleaning habits! A clean, clutter-free home throughout the year is possible especially with the help of organization through custom closets. At Closets for Life, we specialize in all areas of the home, including closets, garages, kitchens, home offices, laundry rooms, pantries and more. Contact our custom closet design team today to schedule a free in-home consultation!
Last month we covered all the important steps to prepare your home for the annual deep clean. Now that you have prepped, organized and decluttered, it’s time to kick off your cleaning journey with our spring cleaning guide! We understand how overwhelming spring cleaning can be, often leaving you questioning where to start and how. […]
CONTINUE READING